
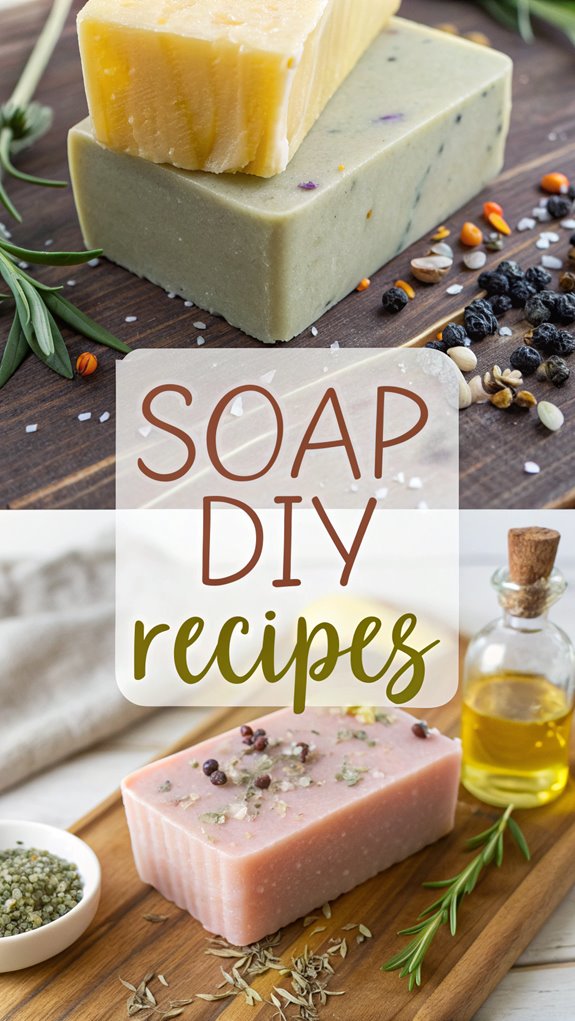
soap diy recipes
Soap Diy Recipes
Did you know that over 60% of people prefer handmade soap over store-bought options? Making your own soap can be fun and rewarding, as it allows you to customize scents and ingredients. This guide covers the basics of DIY soap recipes, so you can create personalized bars that suit your skin’s needs. But first, let’s explore why this craft has become so popular and how you can get started on your soap-making journey.
Why You’ll Love This Recipe
If you’re looking for a fun and rewarding project, DIY soap making is a great choice. You’ll love how customizable the recipes are, allowing you to tailor soaps for your skin type and preferences. By using natural ingredients like botanical oils, you can create gentle soaps that nourish your skin without harsh chemicals. Plus, making your own soap is cost-effective and eco-friendly since it reduces packaging waste and avoids toxins. You can also experiment with different scents and textures, adding unique touches to each batch. With this hands-on activity, you’ll not only learn about soap making but also enjoy the satisfaction of creating something beneficial for yourself and the environment. Additionally, you can incorporate natural ingredients that are gentle and safe for all skin types, enhancing the benefits of your homemade creations.
History
Soap making has a long and fascinating history that dates back thousands of years.
It all began around 2800 BC when the Babylonians created the first soap-like materials using fats, ashes, and water. By 1550 BC, Egyptians documented soap-like substances made from oils and alkaline salts for washing and treating skin diseases. Early soap was primarily used in the textile industry for cleaning fabrics. The Romans popularized soap in public bathhouses, and during the Crusades, soap-making techniques using olive oil spread to Europe. By the 7th century, soap-making became an established art in Italy, Spain, and France.
In the 12th century, England started its own soap-making traditions. The Industrial Revolution later transformed soap production, paving the way for both traditional and synthetic soaps that we see today.
Recipe
Ingredients:
– 4 oz. sodium hydroxide (lye)
– 12 oz. distilled water
– 12 oz. coconut oil
– 12 oz. olive oil
– 4 oz. shea butter
– 2 oz. castor oil
– 1 oz. lavender essential oil
– Dried lavender flowers (for decoration, optional)
Instructions:
1. Begin by preparing your lye solution. In a well-ventilated area, carefully add the sodium hydroxide to the distilled water (never the other way around) and stir until fully dissolved. Allow the solution to cool to room temperature.
- While the lye solution is cooling, weigh and melt the coconut oil and shea butter in a heat-proof container. Once melted, mix in the olive oil and castor oil. Heat the oils to approximately 100°F (38°C).
- When both the lye solution and the oils are at the right temperature, slowly pour the lye solution into the oils. Use an immersion blender to mix until you reach “trace,” which is when the mixture thickens to a pudding-like consistency.
- Add the lavender essential oil and, if desired, a sprinkle of dried lavender flowers to the soap batter. Cold process soap making emphasizes the use of natural ingredients for gentler skin care, making it a preferred method for many soap makers.
- Pour the soap batter into your silicone molds, smoothing the tops as needed. Insulate the molds with a towel to encourage the gelling process. Leave the soap in the molds for 24-48 hours until it hardens.
- Once hardened, carefully unmold the soap and cut it into bars. Place the bars on a drying rack or in a cardboard box to cure for at least one month before using.
Extra Tips:
Always remember that safety comes first when working with lye. Confirm all your equipment is dry and free from any contamination before use. Experiment with different essential oils and additives as you become more comfortable with the process. Properly cured soap will last longer and improve in quality over time, so be patient and allow the soap to cure fully before using or gifting it.
Final Thoughts
As you wrap up your soap-making journey, it’s vital to reflect on the process and the importance of safety.
Always wear protective gear like goggles, gloves, and long clothes to shield yourself. Make sure you’re in a well-ventilated area to avoid inhaling harmful fumes. Remember to mix lye carefully, adding it to water, never the other way around. Store your lye securely and label all your soap-making equipment. Keeping emergency supplies, like vinegar for lye spills, is essential. Educate your family about the risks involved and maintain a distraction-free workspace. Additionally, remember that soapmaking offers a high effort-to-reward ratio, enhancing the satisfaction of your creative process.
FAQ
When you start making soap, questions often arise about the process and safety measures.
First, always wear protective gear like gloves and goggles when handling lye. Work in a well-ventilated area to avoid inhaling fumes. Use stainless steel or plastic containers, as aluminum and glass can react with lye. Understanding the importance of soap composition can help you make informed choices about the ingredients you use.
Remember to add lye to water, never the other way around, and neutralize spills with vinegar. Common issues include soap setting too soon or air pockets forming. To fix this, pour at a thick trace and tap the mold gently.
Finally, understand that saponification takes time; let your soap cure for 4-6 weeks for best results. Always educate your family about soap-making safety.
Soap Diy Recipes
Ingredients
- Ingredients:
- - 4 oz. sodium hydroxide lye
- - 12 oz. distilled water
- - 12 oz. coconut oil
- - 12 oz. olive oil
- - 4 oz. shea butter
- - 2 oz. castor oil
- - 1 oz. lavender essential oil
- - Dried lavender flowers for decoration, optional
Instructions
- Instructions:
- Begin by preparing your lye solution. In a well-ventilated area, carefully add the sodium hydroxide to the distilled water (never the other way around) and stir until fully dissolved. Allow the solution to cool to room temperature.
- While the lye solution is cooling, weigh and melt the coconut oil and shea butter in a heat-proof container. Once melted, mix in the olive oil and castor oil. Heat the oils to approximately 100°F (38°C).
- When both the lye solution and the oils are at the right temperature, slowly pour the lye solution into the oils. Use an immersion blender to mix until you reach "trace," which is when the mixture thickens to a pudding-like consistency.
- Add the lavender essential oil and, if desired, a sprinkle of dried lavender flowers to the soap batter. Cold process soap making emphasizes the use of natural ingredients for gentler skin care, making it a preferred method for many soap makers.
- Pour the soap batter into your silicone molds, smoothing the tops as needed. Insulate the molds with a towel to encourage the gelling process. Leave the soap in the molds for 24-48 hours until it hardens.
- Once hardened, carefully unmold the soap and cut it into bars. Place the bars on a drying rack or in a cardboard box to cure for at least one month before using.
- Extra Tips:
- Always remember that safety comes first when working with lye. Confirm all your equipment is dry and free from any contamination before use. Experiment with different essential oils and additives as you become more comfortable with the process. Properly cured soap will last longer and improve in quality over time, so be patient and allow the soap to cure fully before using or gifting it.